High-quality imagery plays a crucial role when you’re shopping for keyboard accessories, creating product listings, or documenting your desktop setup. A well-composed pic of keyboard can highlight details like keycap profiles, backlighting, and wrist rest fit, helping buyers and enthusiasts make informed choices. This article covers why clear keyboard photos matter, how to capture a picture of keyboard that sells, and practical tips for presenting a pc keyboard picture alongside accessories. This photo shows potential wrist rest options and colorful keycaps that enhance keyboard comfort and style.
Why a pic of keyboard matters for keyboard accessories
A picture of keyboard is often the first thing a potential buyer sees when browsing for accessories. Whether you’re selling artisan keycaps, a leather wrist rest, or a compact switch tester, a compelling image communicates quality, scale, and compatibility faster than text. For sellers and reviewers, a pc keyboard picture can show color accuracy, legends, and connection types—details that matter to people deciding between similar products. In addition to product detail, images also build trust; a clear, honest picture keyboard computer setup reduces returns by setting accurate expectations.
How to take a clear picture of keyboard
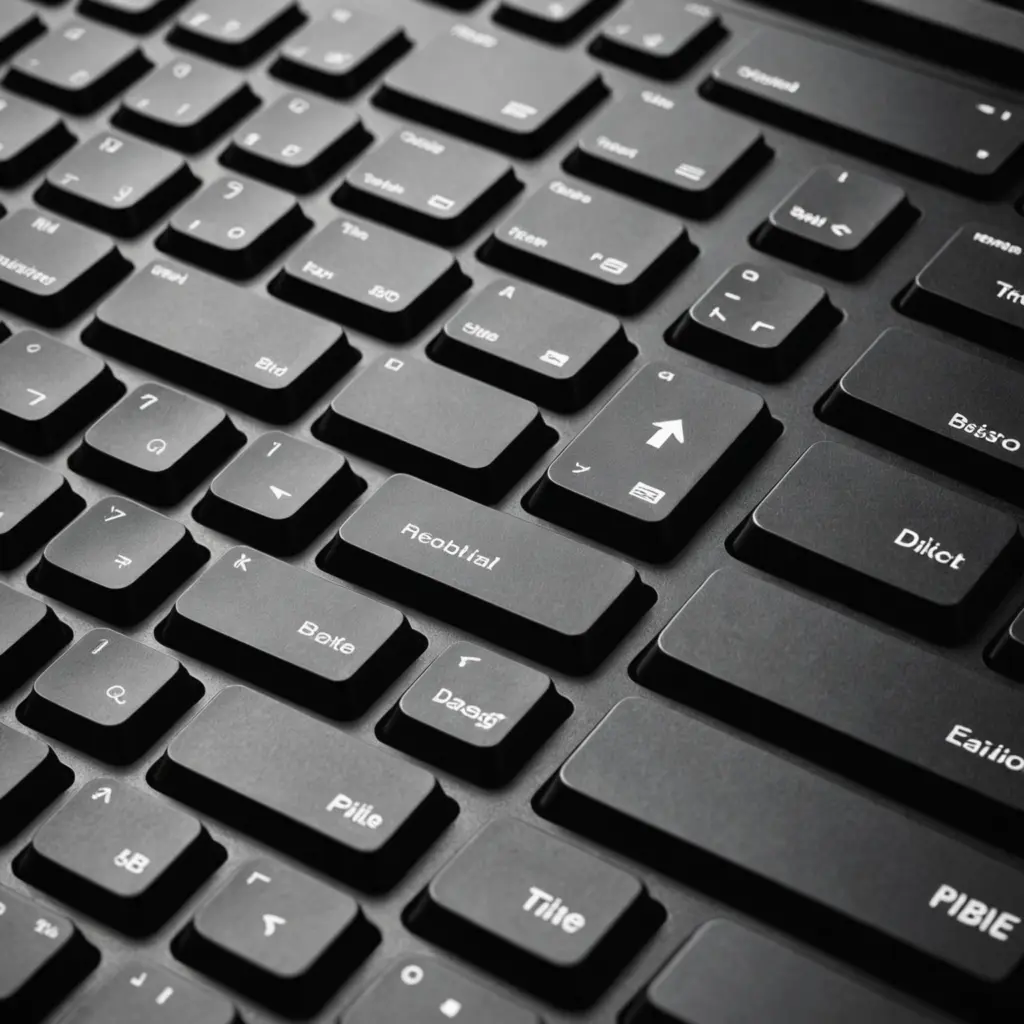
Capturing a full picture of keyboard starts with simple photography fundamentals: lighting, angle, and focus. Natural daylight diffused through a window often produces the most accurate colors without harsh shadows. If you use artificial light, shoot with softboxes or indirect lighting to avoid glare on shiny keycaps. Choose an angle that shows the most relevant features—profile shots for keycap height, overhead shots for layout, and close-ups for texture. Use a tripod and a low ISO to keep the pc keyboard picture sharp, especially when highlighting fine details like legends or switch housings.
Composing the image to showcase accessories
When you’re photographing keyboard accessories, composition is key. Place the accessory in context to demonstrate scale and use: a wrist rest beside the board, a keycap set installed on a keyboard, or a cable routed through a cable manager. A picture of keyboard with accessories should balance clarity with lifestyle cues. For example, include a blurred monitor or mouse in the background to suggest a working environment, but keep the keyboard and accessory in clear focus. This helps potential buyers visualize how the product fits into their setup while keeping the main object front and center.
Editing and presenting a pc keyboard picture professionally
Post-processing helps refine a pc keyboard picture without misleading viewers. Adjust exposure, contrast, and white balance to reflect the actual color and finish. Crop images to remove distracting elements and use a high-resolution file so viewers can zoom in to inspect details. If you need to show multiple angles, create a gallery that includes a full picture of keyboard, close-up details, and a scale reference like a hand or ruler. Avoid heavy filters that alter color or texture; authenticity is important for buyers assessing materials and finishes. This pic of a keyboard also highlights a vintage keyboard layout that inspired older typing designs.
Use cases: product listings, reviews, and custom builds
Different use cases call for different types of keyboard imagery. For product listings, prioritize clean, well-lit shots that show the accessory installed on a keyboard and a separate image of the accessory alone. Review articles benefit from both studio shots and lifestyle images that show the accessory in use, giving readers a rounded impression. For custom builds, a full picture of keyboard with all components displayed—keycaps, switches, plate, and case—can highlight craftsmanship and help other builders replicate the look. In each scenario, a clear picture keyboard computer presentation enhances credibility and user engagement.
Practical tips for smartphone photographers
You don’t need a professional camera to take a great pic of keyboard. Modern smartphones are capable of producing excellent images when used correctly. Clean the lens, stabilize your phone with a small tripod or by bracing your arms, and tap to focus on the keyboard surface to ensure the sharpest result. Use portrait mode sparingly; while it can produce pleasing background blur, make sure the depth effect doesn’t cut off important parts of the keyboard. Many phones also offer manual controls—try lowering the shutter speed and using steady hands to capture more detail in lower light.
Whether you’re listing accessories for sale, creating a review, or sharing a custom build, a well-crafted picture of keyboard can make the difference between a casual glance and a committed purchase. Focus on accurate color, clear detail, and thoughtful composition to present your keyboard accessories in the best light. With the right approach, your pc keyboard picture will not only inform but also inspire others in the keyboard community.