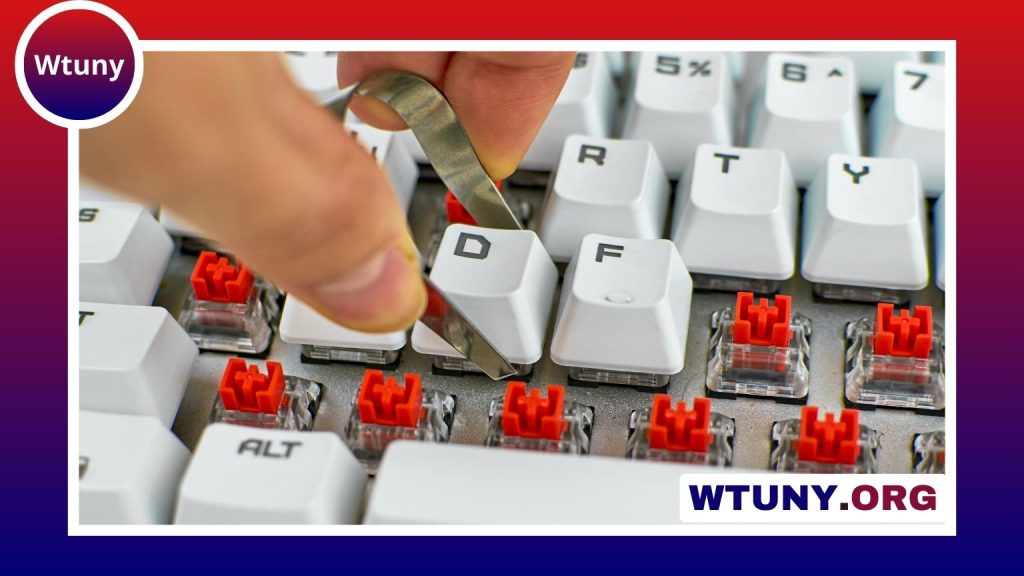
A missing or damaged laptop key does not always mean the entire keyboard needs to be replaced. In many cases, replacing the keycap or the small retaining mechanism beneath it can restore normal typing quickly and at relatively low cost. The important part is identifying the correct replacement and handling the fragile components carefully.
Decide Whether You Need a Single Key or a Complete Keyboard
A single-key repair is usually appropriate when the problem is limited to one keycap, a broken scissor-style retainer, or debris beneath the key. A key that has popped off during travel, a cracked cap, and a worn or damaged frequently used key are common reasons to order an individual replacement.
A complete laptop keyboard replacement may be more suitable when:
- Several keys have stopped working at the same time.
- Multiple keys are sticky or physically damaged.
- Liquid has reached the keyboard and may have affected its circuitry.
- Keys in the same area continue to fail after cleaning or individual repairs.
- The cost and effort of repairing several keys approaches the cost of a keyboard assembly.
Liquid exposure deserves particular caution. Even if the laptop appears to work after drying, corrosion or hidden damage can cause problems later. A professional inspection may be safer than repeatedly replacing individual key parts.
What a Laptop Key Replacement May Include
A replacement is not always just a plastic keycap. Most laptop keys use a small retainer, often called a scissor clip, and a rubber dome or switch beneath it. These parts must match the keyboard’s design and fit together correctly.
Depending on the seller and the repair required, you may find:
- Replacement keycaps: Plastic caps that match a particular laptop layout, profile, and character marking.
- Retainer clips: The support pieces that connect the keycap to the keyboard mechanism.
- Repair kits: Sets containing caps, clips, and small tools for repairing more than one key.
- Universal or generic caps: Parts intended for certain common keyboard mechanisms, though they may not match the original appearance or feel.
Do not assume that keys from laptops of the same brand will interchange. The model, keyboard layout, switch design, and shape of the underside all affect compatibility.
How to Identify the Correct Replacement
Before placing an order, record the laptop’s exact model number. It may appear on the base of the computer, in the battery compartment, or in the system information shown by the operating system. If available, note the keyboard part number as well.
Compare the replacement with the original key from several angles. Useful details include:
- The key’s width and length.
- The shape and position of the retaining clips.
- The type of mechanism beneath the key.
- The character style, surface texture, and key profile.
- Whether the key is a standard letter key or a special-size key such as Enter, Shift, Space, or Backspace.
Photographs of the keyboard, the damaged cap, and the exposed mechanism can help a seller confirm the correct part. Check the seller’s compatibility information and return policy rather than choosing solely by price. A part that looks similar may still sit loosely, fail to press correctly, or damage the underlying mechanism.
Steps for Replacing a Laptop Key
- Shut down the laptop. Disconnect the charger and any other power source before working on the keyboard.
- Inspect the area. Check whether the retainer and rubber dome are still present and whether the keyboard surface is cracked or contaminated.
- Remove loose pieces carefully. Use a plastic spudger or the tool supplied with the repair kit. Avoid metal tools that could scratch the surface or damage the mechanism.
- Clean the opening. Remove dust and crumbs with gentle air. A small amount of isopropyl alcohol may help clean suitable surfaces, but it should not be poured into the keyboard.
- Install the retainer if necessary. Position the replacement clip in the same orientation as the original. These clips are delicate and may have several small hooks that must engage correctly.
- Attach the new keycap. Align it over the mechanism and press gently until it clicks or sits securely.
- Test the key. Press the key at its centre and around its edges. It should move evenly, return to position, and register reliably.
Never force a key that will not fit. Resistance usually indicates that the clip is upside down, a hook is misplaced, or the replacement is incompatible. For larger keys, such as the Space bar, additional stabiliser parts may make installation more complicated.
Maintaining the Keyboard After the Repair
Keep the keyboard free from crumbs and dust, and avoid eating or drinking over the laptop. Clean gently rather than prying off keys unnecessarily. If one key repeatedly breaks or several keys begin behaving abnormally, investigate the underlying keyboard mechanism instead of continuing to replace caps.
For a single damaged key, the right replacement cap or repair kit can restore both appearance and function without replacing the entire keyboard. Accurate model identification, careful inspection, and gentle installation are the essentials of a successful repair.