“Web Logi” is commonly used as a shorthand for Logitech webcams, related accessories, and the software used to configure them. These products support everyday video calls, online teaching, streaming, recording, and other situations where clear video and dependable audio matter. The best setup depends less on choosing the most advanced camera and more on matching the device, software, lighting, and network to the way you intend to use it. For detailed compatibility and firmware information, consult our Logi model specifics on mainstream brand pages.
What the Web Logi ecosystem includes
A typical Web Logi setup may contain a Logitech webcam, a USB connection, configuration software, and optional accessories such as a microphone, light, tripod, or monitor mount. Some Logitech utilities are designed to help with camera settings, device updates, and custom controls. The exact features available depend on the camera model, computer, operating system, and software version.
Before installing anything, identify the camera’s model number and check its documentation. Compatibility, supported resolutions, firmware procedures, and available controls can vary considerably between entry-level webcams and higher-end devices.
Choosing a Logitech webcam for your needs
Start with the way you will use the camera rather than with specifications alone. Different tasks call for different priorities:
- Video meetings: Look for dependable autofocus, a clear microphone, and a field of view that shows your face and upper body without including too much of the room.
- Streaming and recording: Image quality, consistent color, useful manual controls, and good performance in uneven lighting may matter more than automatic setup.
- Teaching or presentations: A camera that keeps the speaker visible and handles movement smoothly can be more useful than the highest available resolution.
- Conference rooms: Consider mounting options, microphone coverage, compatibility with the room computer, and the ability to keep settings consistent.
- Basic monitoring: Confirm that the intended camera, computer, and monitoring application support the required live-view or recording functions. A general webcam should not automatically be assumed to provide dedicated security-camera features.
Basic setup steps
- Place the webcam at approximately eye level and aim it toward a well-lit position.
- Connect it directly to the computer, preferably using a reliable USB port rather than an unpowered hub.
- Install the Logitech software recommended for the specific model, if one is available.
- Allow the operating system and meeting or recording application to detect the camera.
- Open the application’s audio and video settings and select the Logitech camera and the intended microphone.
- Make a short test recording or preview the image before joining an important call.
Automatic exposure and white-balance settings are a useful starting point. If the image looks too dark, move a light in front of you rather than relying only on software correction. Avoid placing a bright window directly behind your head, since this can leave your face in shadow.
Improving picture and sound quality
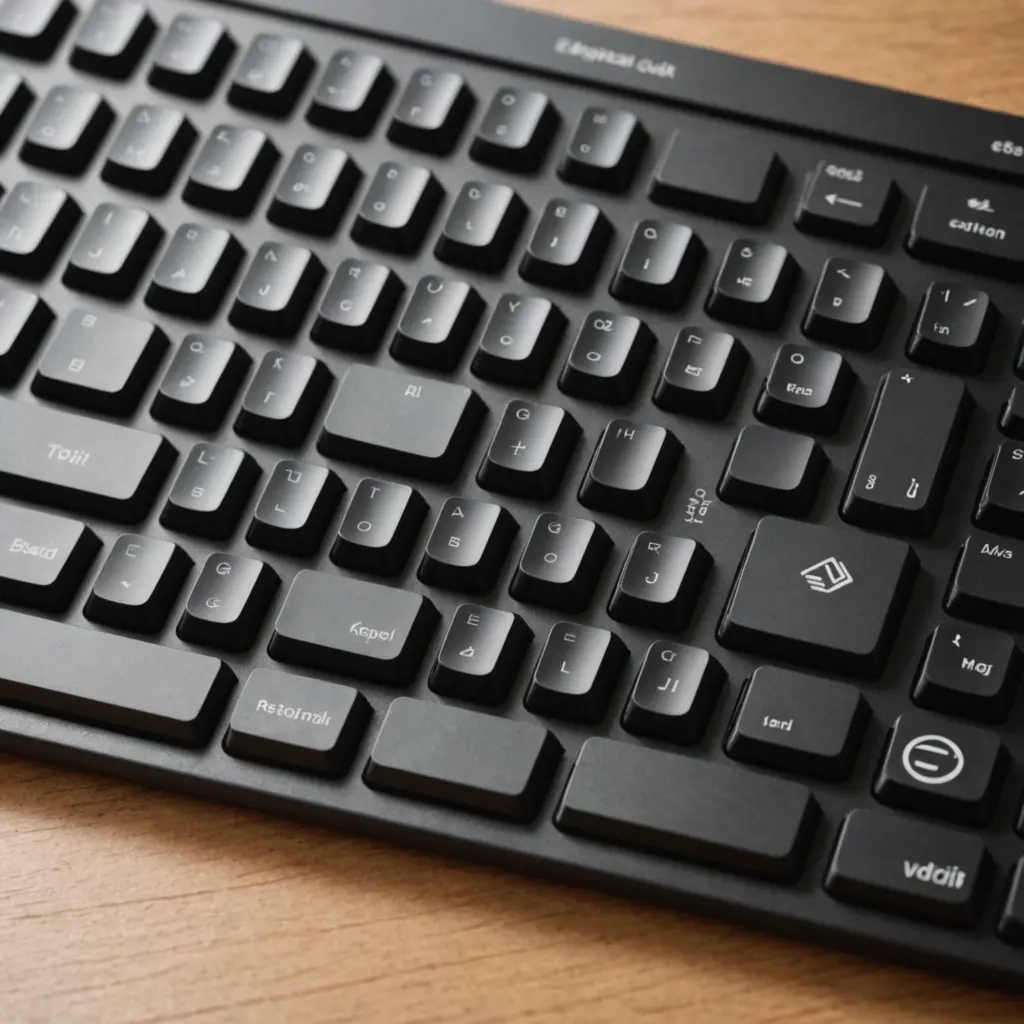
Higher resolution does not always produce a better result. The meeting platform, available bandwidth, computer performance, and lighting all affect the final image. If video becomes unstable, try lowering the resolution or frame rate. A steady, well-lit image is often preferable to a higher setting that causes dropped frames or delays. Web Logi also covers Apple's latest keyboard, highlighting its M4 features and everyday productivity benefits. For editing Web Logi on the go, an iPad Pro keyboard makes drafting and formatting posts considerably easier.
For better audio, select the correct microphone in both the operating system and the application. Keep the microphone away from fans and other noise sources, and test the volume in a quiet room. An external microphone may provide a noticeable improvement when the built-in webcam microphone sounds distant or picks up excessive background noise.
Troubleshooting common problems
The camera is not detected
- Disconnect and reconnect the webcam.
- Try another USB port and check the cable for damage.
- Close other applications that may already be using the camera.
- Restart the computer and confirm that the operating system has camera access enabled.
- Check whether the Logitech utility or device documentation lists a firmware or driver update.
The image is blurry, dark, or inconsistent
Clean the lens with a soft, dry cloth and give autofocus a moment to settle. Improve the light on your face, remove strong backlighting, and check whether the application has applied unusual exposure, color, or resolution settings. If several applications are open, compare their previews to determine whether the issue is caused by the camera or by one particular program.
The microphone does not work
Verify that the correct input device is selected and that the application is not muted. Check the operating system’s privacy permissions, then run a short audio test. If the camera works but its microphone remains unreliable, an external microphone can be selected independently.
Keeping the setup manageable
When using more than one webcam, label each device and standardize resolution, framing, and color settings where possible. Keep the camera software and firmware aligned with the model’s documentation, but avoid installing updates intended for a different device. Review privacy settings regularly, especially when a camera remains connected to a shared or unattended computer.
A practical Web Logi setup is one that suits the task, remains easy to control, and performs consistently in the available environment. Choose the camera according to your workflow, test it in the software you actually use, and improve lighting and audio before spending more on advanced hardware.