Removing a mechanical key switch is a straightforward way to repair a failed key, change the typing feel, or prepare a keyboard for cleaning and modification. The correct method depends on how the switch is attached to the keyboard. Hot-swappable switches can usually be pulled from the board with a switch puller, while soldered switches must first be disconnected from the PCB with a soldering iron and desoldering tool.
Identify the keyboard type first
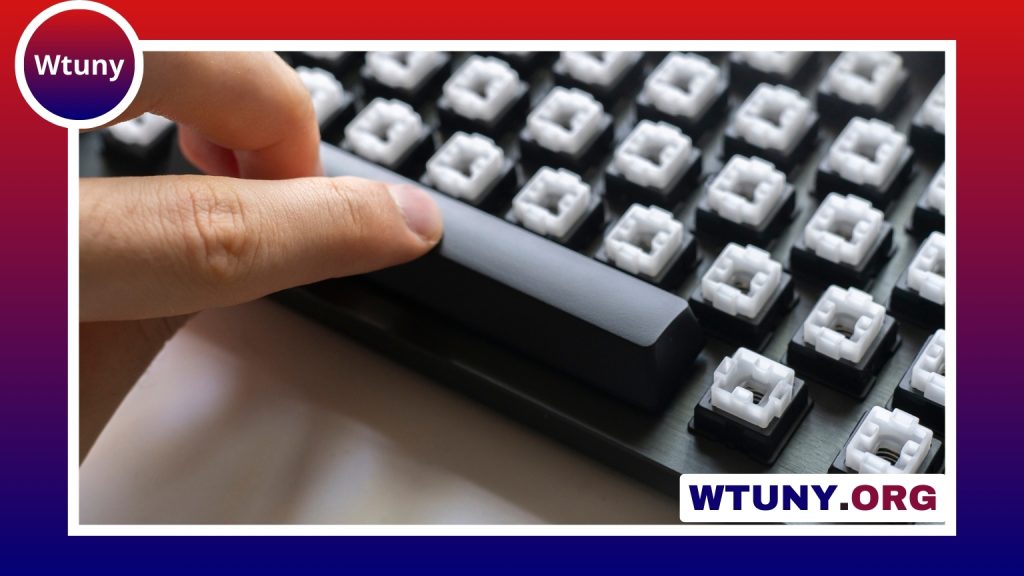
Before removing anything, determine whether the keyboard is hot-swappable or soldered. A hot-swap PCB has sockets that hold the switch pins in place, so switches can be removed without melting solder. A soldered keyboard has each switch electrically connected to the PCB and requires desoldering.
Do not try to force a soldered switch out of the plate. Doing so can bend the pins, damage the PCB, or pull up a circuit pad. If you are unsure which type of keyboard you have, inspect the underside of the PCB or consult the board’s documentation before starting.
Tools and preparation
Work on a clean, well-lit surface and unplug the keyboard before disassembly. Keep track of screws and small parts, and take photos before removing components so you can confirm switch orientation and stabilizer placement during reassembly.
For a hot-swappable keyboard
- Keycap puller
- Switch puller
- Good lighting and a clean work surface
For a soldered keyboard
- Keycap puller and switch puller
- Soldering iron
- Desoldering pump or desoldering wick
- Solder and tweezers
An anti-static wrist strap can also be used when working around the PCB. If you are new to soldering, practising on an unwanted board first can help you learn how much heat and pressure are needed.
Removing switches from a hot-swap keyboard
- Remove the keycap. Place the keycap puller over the keycap and pull upward evenly. Larger keys may have stabilizers, so lift them carefully rather than forcing one side upward.
- Position the switch puller. Align the puller with the switch’s top and bottom release tabs. The tool should grip the switch housing, not the surrounding plate.
- Release the switch. Squeeze the puller to disengage the tabs, then pull the switch straight upward. A gentle rocking motion can help, but avoid twisting or using excessive force.
- Inspect the switch and socket. Check that the switch pins are not bent and that the socket has not moved or been damaged.
To install another switch, confirm that its pins are straight and that its orientation matches the original. Align the pins with the socket openings and press the switch down evenly until it sits securely in the plate. Test the key before reinstalling the keycap.
Removing switches from a soldered keyboard
A soldered switch must be electrically disconnected before it can be removed. Remove the keycap, then open the case or separate the plate and PCB as needed to access the solder joints. Avoid pulling on the switch while solder is still solidly attached.
- Heat one switch pin’s solder joint with the soldering iron.
- Use a desoldering pump or wick to remove the molten solder.
- Repeat the process for the other pin and any additional switch connections.
- Check that the pins are free before pushing the switch out through the plate.
Use only enough heat to melt the joint and avoid prolonged heating, which can damage the PCB or nearby components. If the switch does not come free, stop and inspect the joints rather than applying more force.
Installing and testing a replacement
Before installation, compare the replacement switch with the original. Check the pin arrangement, housing shape, stem type, and fit in the plate. Some switches are designed for plate mounting while others may also use PCB mounting features, so compatibility matters.
Insert the switch with its pins aligned to the PCB holes or hot-swap socket. On a soldered board, hold the switch squarely in the plate, then solder each pin with a small, clean joint. Avoid joints that are dull, loose, or excessively large.
Test the switch before fully reassembling the keyboard. A keyboard tester or the board’s usual key-input software can help confirm that the replacement registers correctly. If it does not work, inspect for bent pins, incomplete desoldering, a poor solder joint, or debris in the socket.
Tips for a safer switch replacement
- Work slowly around large keys because their stabilizers can make removal less direct.
- Do not repeatedly force switches into a hot-swap socket; excessive pulling and insertion can wear the socket.
- Photograph the board before disassembly if switch orientation or wiring is difficult to remember.
- If you plan to lubricate switches or modify stabilizers, complete those tasks before final reassembly.
- Confirm that replacement switches fit the keyboard’s plate, PCB, and layout before buying or installing them.
With the right removal method and a careful inspection at each stage, changing mechanical key switches can be a practical repair or an easy way to customise a keyboard’s feel and sound.