A well-made keyboard photo does more than show what a keyboard looks like. It helps viewers judge size, layout, materials, keycap shape, lighting, and how accessories fit together. Whether you are preparing a product listing, documenting a custom build, writing a review, or sharing a desktop setup, a clear and honest image can communicate details that text alone may not. This photo shows potential wrist rest options and colorful keycaps that enhance keyboard comfort and style.
Why keyboard photos matter
Keyboard accessories are often compared by small visual differences. Buyers may want to see the height and profile of keycaps, the texture of a wrist rest, the finish of a case, or the position of a cable connection. A sharp, well-framed photo gives them useful context before they make a decision.
Good images also set accurate expectations. Showing the real color, scale, surface texture, and condition of an item can reduce confusion and make a listing or review more trustworthy. If an accessory is shown installed on a keyboard, viewers can more easily understand how it may look and fit in an actual setup.
Prepare the keyboard and scene
Before taking a picture, remove dust, fingerprints, crumbs, and loose cables that distract from the subject. Check that keycaps are seated correctly and that any accessory you want to feature is positioned as it would be during normal use.
Choose a background that contrasts with the keyboard without competing for attention. A plain desk surface works well for product images, while a monitor, mouse, or other desk items can add context to a lifestyle photograph. Keep background objects tidy and, if possible, slightly less prominent than the keyboard.
Use lighting that shows detail
Soft, diffused light is usually easier to work with than direct sunlight or a strong lamp aimed at the keyboard. Light from a window can produce natural-looking results when it is softened by a curtain or other diffuser. If you use artificial lighting, bounce it off a nearby wall or use a diffuser to reduce hard shadows and reflections.
- Watch for glare on glossy keycaps, metal plates, and polished cases.
- Use more than one light source, or a reflector, when one side of the keyboard appears too dark.
- Photograph backlighting at an exposure that preserves the surrounding keyboard details.
- Compare the photo with the physical item to check that the colors look believable.
Choose an angle for the information you need
There is no single best angle for every keyboard photo. An overhead view clearly shows the layout, number of keys, and overall arrangement. A lower three-quarter angle gives the image more depth and can show the case shape, keycap profile, and wrist-rest height. A side view is especially useful when the height or slope of the keyboard is important.
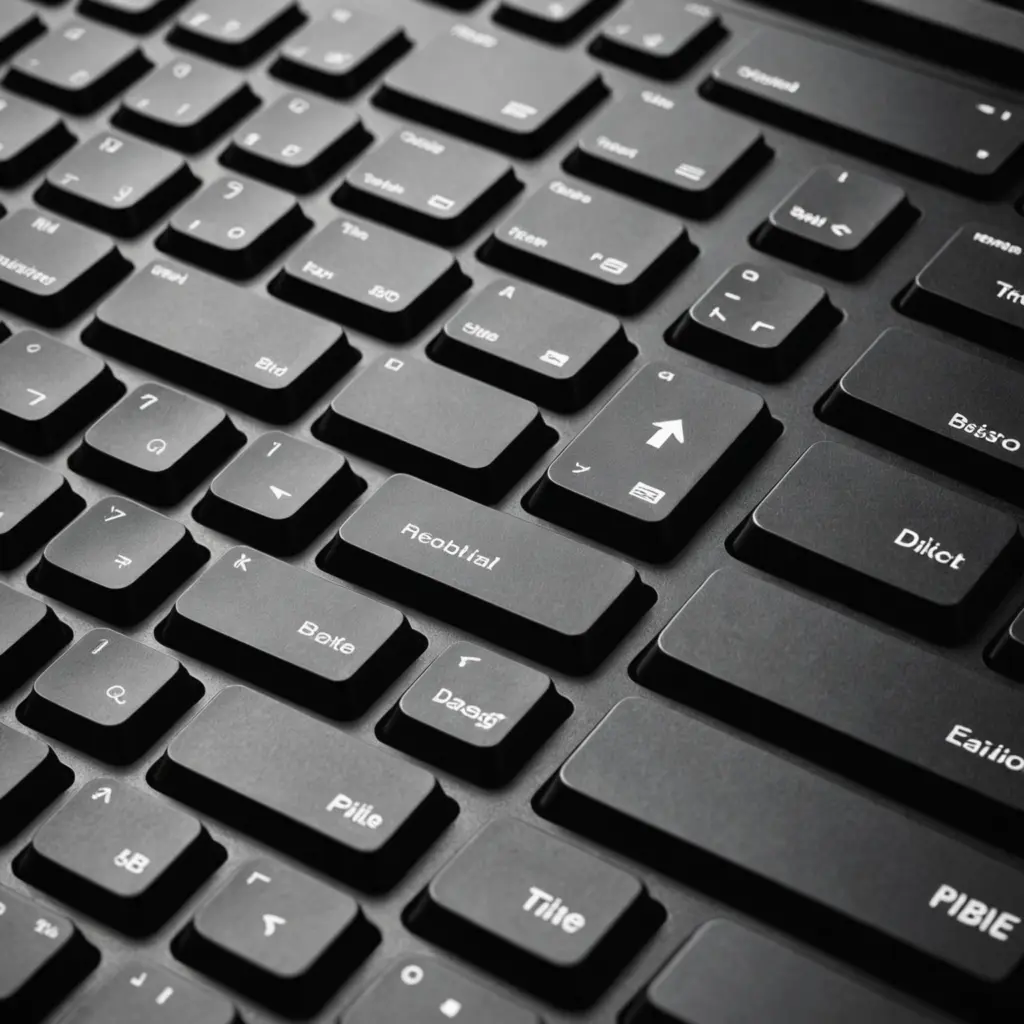
Take close-up images for details such as legends, textured surfaces, switch housings, cable connectors, stitching, or signs of wear. For a complete presentation, combine a full-board image with several detail shots rather than trying to make one photograph show everything. This pic of a keyboard also highlights how keyboard lighting options can improve visibility during late-night typing.
Show accessories in context
A wrist rest is easier to understand when it is placed beside or in front of the keyboard. A keycap set can be photographed both installed and separated from the board. Cables, switch testers, desk mats, and cable-management accessories should be shown in a way that explains their size and intended position.
Keep the featured item visually dominant. A blurred monitor or mouse may suggest a real working environment, but avoid including so much surrounding equipment that viewers lose sight of the product. If scale could be unclear, add a familiar object or provide measurements in the accompanying description.
Tips for using a smartphone
A phone can produce a strong keyboard image when it is kept stable and carefully focused. Clean the camera lens first, then brace the phone against a solid surface or use a small tripod. Tap the keyboard or accessory to set focus, and avoid digital zoom when possible because it can reduce fine detail.
Portrait mode can be useful for a lifestyle shot, but check that it has not blurred keycaps, edges, or accessory parts that should remain sharp. In dim conditions, adding light is often better than relying on an aggressive automatic setting. Take several versions from slightly different distances and angles so you can choose the clearest result.
Edit without changing the truth
Basic editing can improve presentation. Adjust exposure, crop away distractions, and correct white balance so the image resembles the real item. Moderate contrast and sharpening may help reveal legends and textures, but heavy filters can change colors and make materials look different from reality.
For a listing or review, provide a useful set of images: a full keyboard view, an accessory-only view, close-ups of important details, and an installed or in-use example. Use descriptive filenames and accurate alternative text, such as “compact keyboard with wooden wrist rest,” rather than relying on vague labels.
Match the photo to its purpose
- Product listings: Prioritize clean lighting, accurate color, clear scale, and images of the accessory alone and installed.
- Reviews: Combine detail shots with practical desk photos that show how the item appears during use.
- Custom builds: Photograph the completed keyboard as well as separate components such as keycaps, switches, the case, and the plate.
- Setup documentation: Use a wider composition, but keep the keyboard and featured accessories easy to identify.
The strongest keyboard photography is clear, purposeful, and honest. Good lighting, stable framing, relevant angles, and restrained editing can turn a simple picture of a keyboard into useful information for buyers, reviewers, and other enthusiasts.